
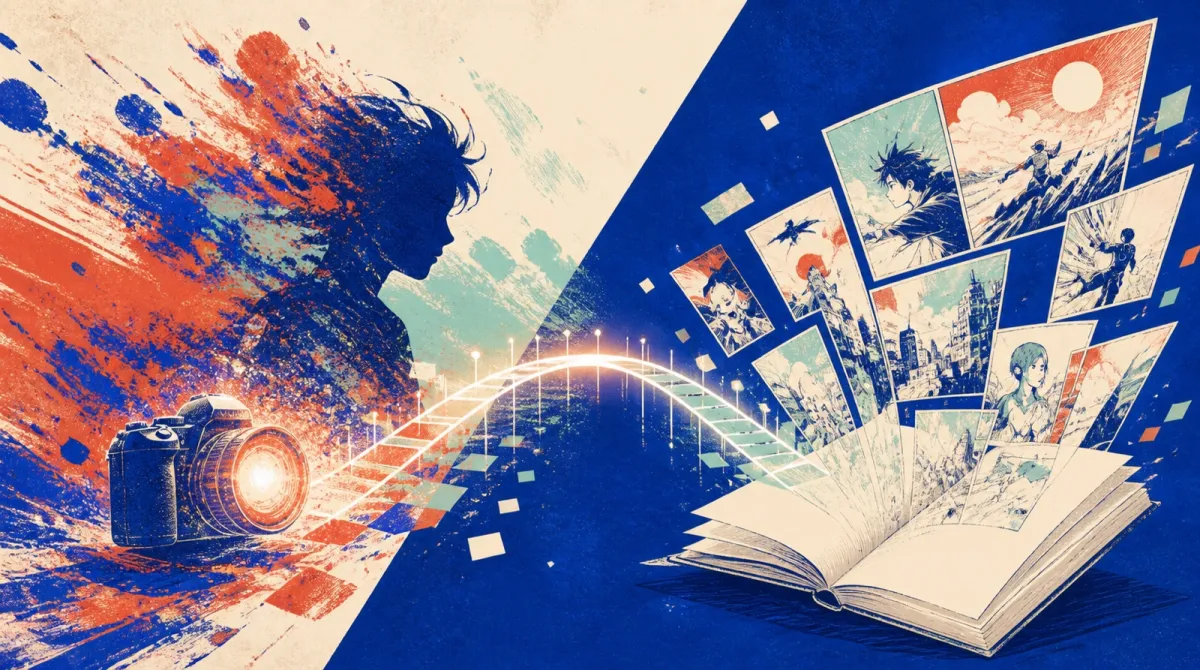
Photo to Manga: Turn Your Selfie into Manga with AI
A photo to manga conversion takes an ordinary picture and redraws it in the look of Japanese comics, with clean ink lines, expressive eyes, and dramatic shading. If you have ever wondered what your selfie would look like as a shonen protagonist or a webtoon lead, an AI tool can make that experiment quick. This guide walks through the full process, from picking the right source photo to choosing a style and avoiding the mistakes that ruin results.
How Photo to Manga Conversion Works
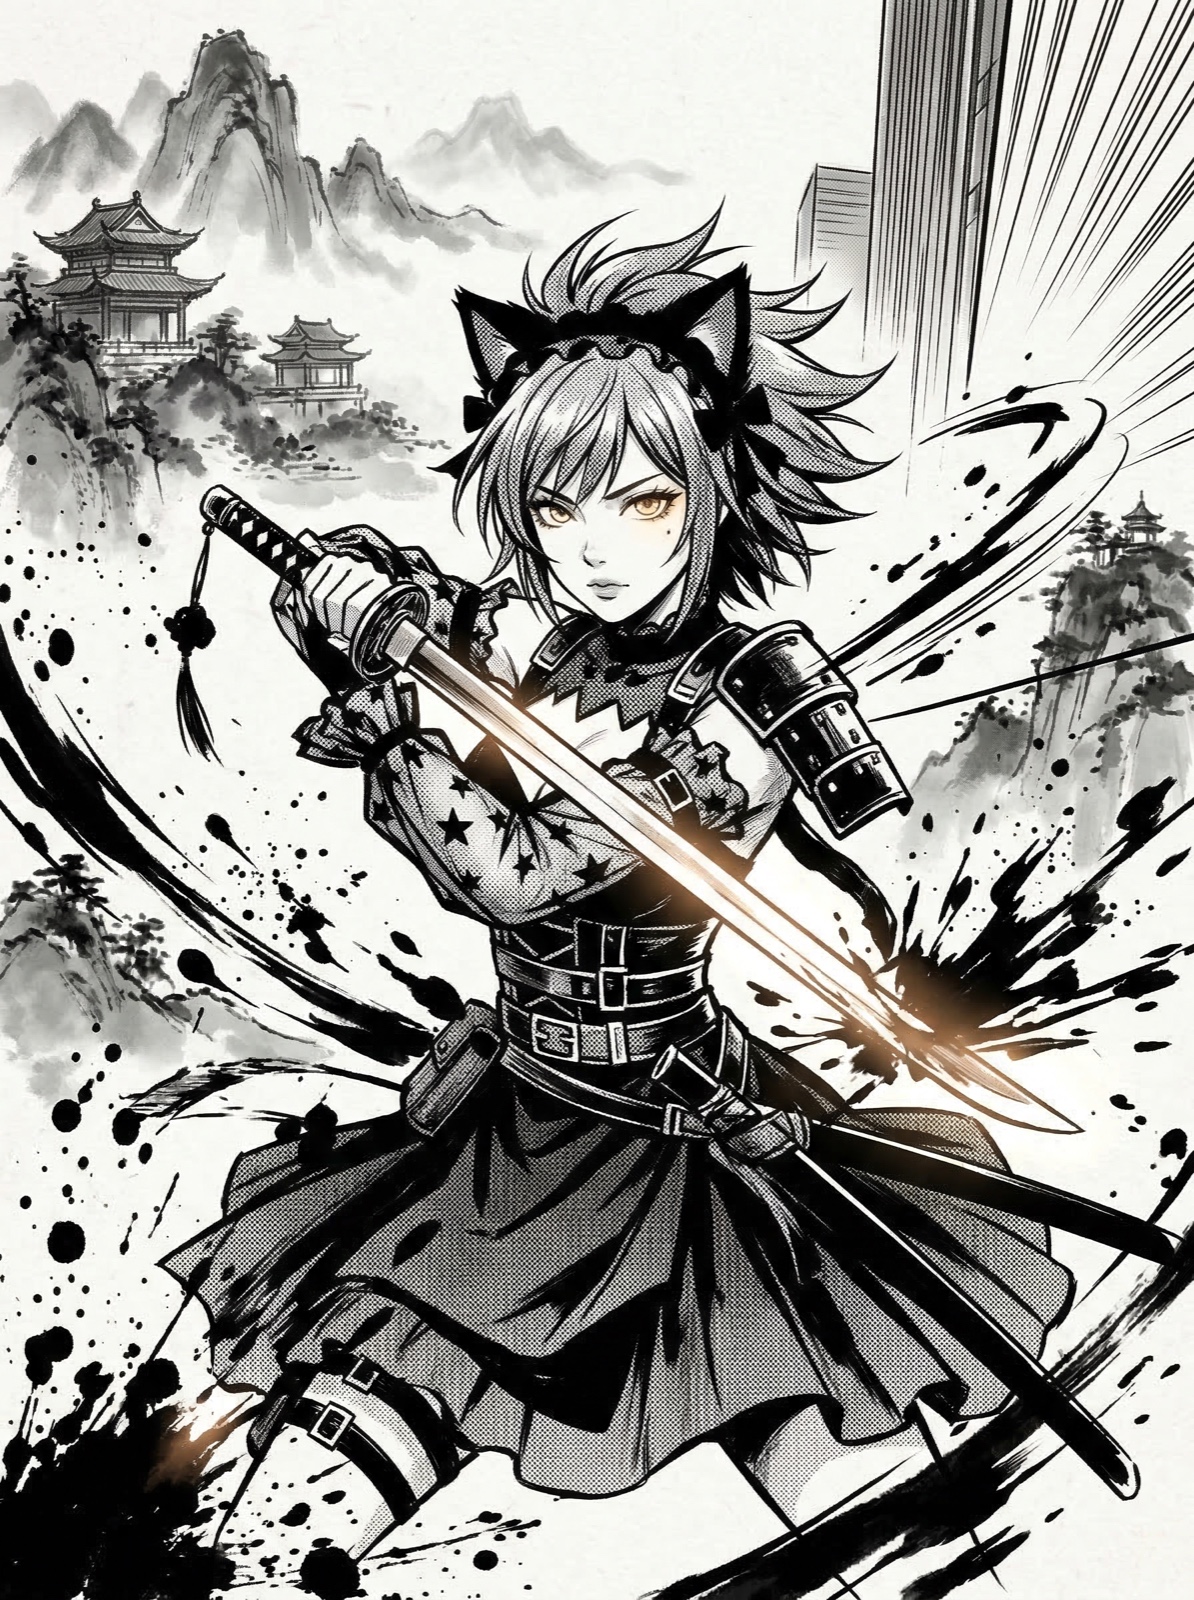
An AI manga generator from a photo reads the basic structure of the image: the face, the head angle, the hair outline, and the lighting. It then restyles those elements into line art and tonal shading that resembles manga or webtoon illustration. The output is a stylized interpretation, not a perfect copy. Hairstyle, face shape, and general expression usually carry over, while proportions shift toward the exaggerated look of comics.
Knowing this helps you set realistic expectations. You are not trading a photo for a finished, hand-drawn page. You are getting a fast first draft of a character that you can use as an avatar, a sketch, or a starting point for a longer project.
Step-by-Step: Photo to Manga in Four Steps
Step 1: Pick Your Source Image
Start with the best photo you have. Clear faces convert far better than blurry or cluttered ones. Our guide to source photos below covers the details, but the short version is: one person, good light, and a face that is easy to see.
Step 2: Choose a Style
Decide what kind of manga look you want before you generate anything. A dramatic action portrait calls for a different treatment than a soft, romantic close-up or a comedic panel. Think about where the art will live, whether that is a social profile, a comic page, or a vertical webtoon strip.
Step 3: Run the Conversion
Open the photo to manga tool, upload your image, select your style, and generate the result. Do not expect the first output to be final. Compare it with your original and check whether the eyes, hairline, and jawline look right to you.
Step 4: Refine and Save
If something feels off, adjust your source photo rather than repeating the same conversion over and over. A better crop or lighting fix often helps more than another attempt. When you are happy with the result, download it and save the original file so you can compare future versions.
Tips for Good Source Photos
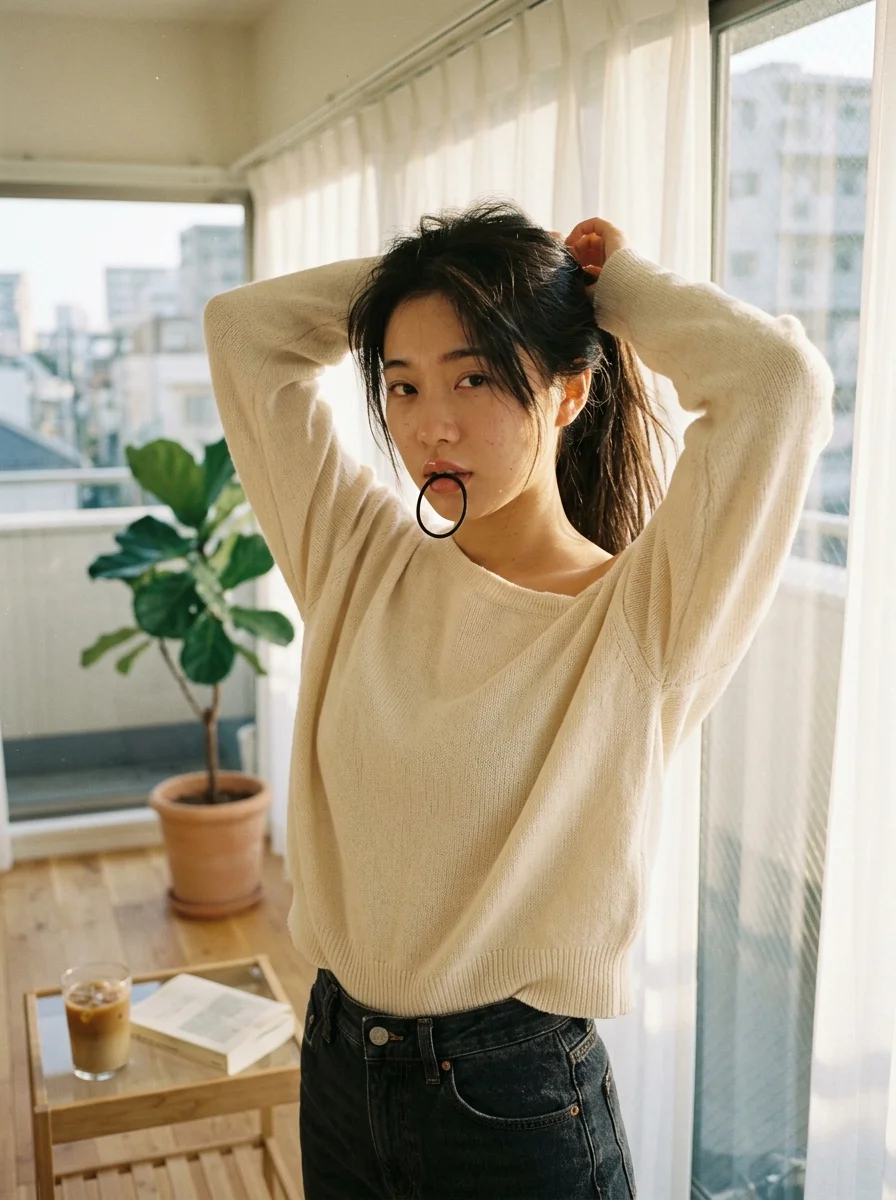
The quality of your input has a huge effect on the final manga. Use these guidelines:
- Show one clear face. Group shots shrink each person into a tiny area, which leads to muddy details.
- Use even lighting. Soft window light or an overcast day works better than harsh overhead light that creates deep shadows across the eyes.
- Keep the face unobstructed. Hair, sunglasses, masks, and hands covering the face make the conversion guess at missing features.
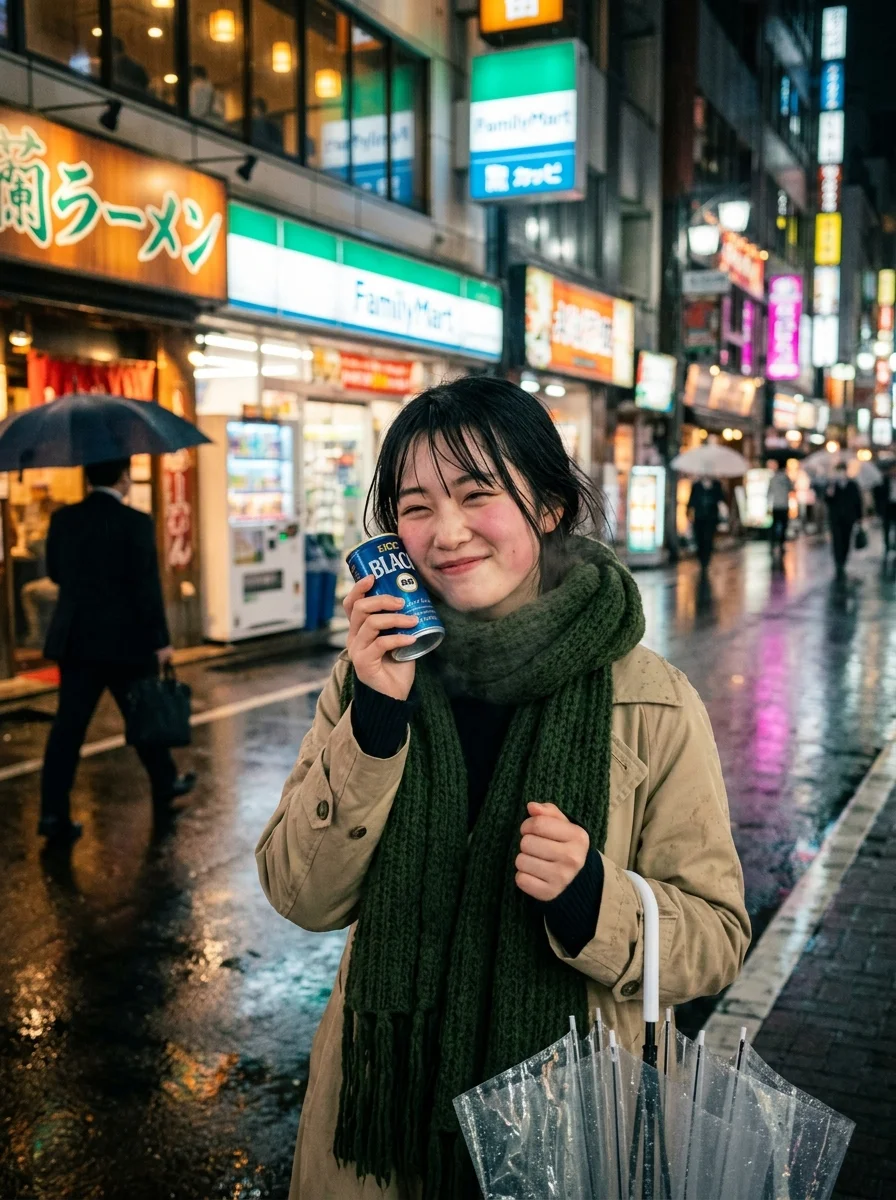
- Choose a plain or simple background. A busy background can blend into the linework and confuse the output.
- Try a three-quarter angle. A slight head turn often converts more naturally than a flat, straight-on pose.
- Skip heavy filters. Beauty filters smooth skin and distort edges, which leaves less real detail for the conversion to work with.
- Crop to head and shoulders. Tight portrait crops give the most consistent results for character-style art.
The image below shows how a well-lit, unobstructed portrait turns into a clean manga-style portrait.
Choosing the Right Manga Style
Each manga style carries its own visual language. Matching the style to your purpose makes the final image feel intentional.
Shonen
Shonen styles are energetic, with bold outlines, strong contrast, and dynamic expressions. They suit action-oriented portraits, hero-style avatars, or anything meant to feel bold and adventurous.
Shojo
Shojo styles focus on soft lines, large expressive eyes, and gentle shading. They work well for emotional close-ups, romantic-themed portraits, or any image where you want a dreamy mood.
Webtoon
Webtoon-style art is often colorful, smooth, and built for vertical scrolling. It fits modern social content and story-driven character art. Because webtoons are read on phones, a simple, clean composition tends to look best.
4-Panel Gag (Yonkoma)
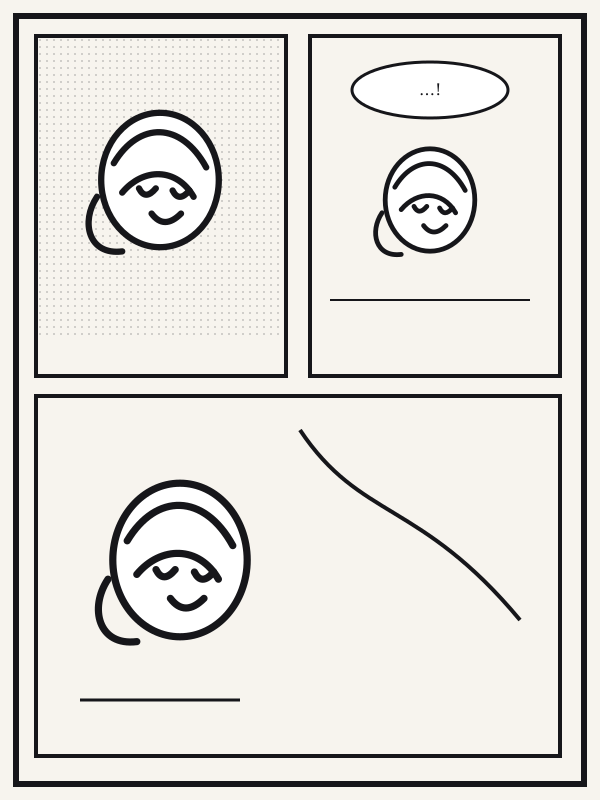
Yonkoma is a four-panel comic format common in Japanese humor. If you want a short, funny strip, you can create a series of portraits with different expressions and arrange them in a four-panel layout. Keep the source photo consistent across panels so the character reads as the same person.
Not sure which style fits? Start with one portrait in two different styles and compare them side by side. The better match usually becomes obvious quickly.
Common Mistakes to Avoid
Most disappointing results come from a handful of avoidable problems:
- Using a tiny face in a wide shot. The model has too few pixels to work with.
- Expecting an exact likeness. Stylized art exaggerates features. Judge the result as a character, not a passport photo.
- Overprocessing. Converting an already converted image rarely helps and can flatten details.
- Ignoring consistency. If you plan a series, keep your source photo, angle, and style the same. For planning a character's look across multiple images, see our character sheet tool.
- Using photos you do not have rights to. Only convert images you took yourself or have permission to use.
- Assuming every use is allowed. Personal projects and commercial projects can have different rules. Before you sell prints, merchandise, or client work, read our guide to AI manga for commercial use and review the platform terms.
Where to Go Next
Once you have a few portraits you like, you can keep building your creative workflow in the MangaGenAI studio. Use the same source photo across different styles to explore your character, or create a small set of images for a social profile, a story concept, or a fan-made panel.
The main rule stays the same: good input creates good output. A clear, well-lit selfie with a simple background will do more for your results than any setting tweak.
Try Photo to Manga Free on MangaGenAI
Ready to see yourself in manga style? Upload a clear selfie to MangaGenAI and try a free photo to manga conversion today. Pick a style, compare the result with your original, and refine your source photo until the art feels like you.
Related articles
- Turn a Selfie into a Manga Lead: The Complete Photo to Manga Guide
- From a Single Selfie to a Full Character Sheet: The Complete Workflow
- Photo Generation vs Text Generation: Where Should My Manga Start?
FAQ
Is photo to manga conversion free to try? You can try MangaGenAI free to see how a photo to manga conversion works. Check the tool page for current access details before you plan a larger project.
Will the manga version still look like me? Usually, the main features such as hairstyle, face shape, and general expression carry over. Manga styles also exaggerate proportions, so the result is a stylized version of you rather than an exact likeness.
What kind of photo works best for an AI manga generator? A clear, front-facing or three-quarter portrait with even lighting, a simple background, and no sunglasses or heavy filters gives the most reliable results. Use one person per image.
Can I use my manga-style portrait commercially? It depends on the tool's terms and how you plan to use the image. Read our guide on AI manga for commercial use and review the platform's terms before selling prints, merchandise, or client work.